

You know that feeling—you want a cozy movie night at home, maybe with popcorn and a blanket… but the second you think about mounting a TV or installing anything permanent, you remember: I’m renting. Suddenly it feels like more hassle than it’s worth.
That’s exactly where projectors shine. They give you that big-screen, cinematic feel without committing to anything permanent. No drilling holes, no arguing with your landlord, no risking your security deposit. You can set it up when you want it—and pack it away like it was never there.
And the best part? You don’t need a perfect space or a big budget. With the right setup, even a small apartment or awkward layout can turn into a surprisingly great viewing experience. These renter-friendly ideas are all about making your space feel better—without leaving a single mark behind.
As an Amazon Associate, I earn from qualifying purchases.
What Makes a Projector Screen Setup Truly “Renter-Friendly”
Not every “easy” setup is actually renter-friendly—so it helps to know what to look for. The golden rule? If it leaves damage behind, it’s probably not worth it. That means no drilling, no screws, and no permanent mounts that you’ll regret later.
Instead, think flexible and reversible. Tension rods, portable screens, shelves, carts—anything you can move, remove, or adjust without tools is fair game. The best setups are the ones you can change your mind about. Today it’s in the living room, tomorrow it’s in the bedroom, and next month it might not even be set up at all.
It also needs to work with your space, not against it. Renters deal with weird layouts, limited wall space, and multipurpose rooms. A good setup adapts to that. And ideally, it doesn’t cost a fortune either—you should be able to get started simple and upgrade later if you want. Easy, flexible, and low-risk—that’s the goal.
Quick Setup Basics (Before You Choose Your Style)
Before you dive into any setup, a few basics will save you a lot of frustration. First up: distance. Projectors need space to create a clear image, so check how far your projector needs to sit from the wall to get the size you want. Too close, and the image is tiny. Too far, and it might lose sharpness.
Lighting makes a bigger difference than most people expect. Even a great projector can look washed out in a bright room. If you can, use curtains, blinds, or just watch in the evening when it’s darker. You don’t need total blackout—but the less ambient light, the better your picture will look.
Sound is another thing people overlook. Built-in projector speakers are fine for casual viewing, but if you want that “movie night” feel, a small Bluetooth speaker can make a huge difference. And finally, don’t ignore cables. A few simple clips or Velcro ties can keep things tidy and prevent that messy, tangled look. It’s not glamorous—but it makes your setup feel intentional instead of temporary.
11 Renter-Friendly Projector Screen Setup Ideas
Most of these options use things you already have or can set up in minutes. Think of this as a “pick what fits your space” list, not a step-by-step rulebook.
Whether you’ve got a tiny apartment, a shared living room, or just an awkward blank wall, there’s something here that’ll work without making your landlord nervous.
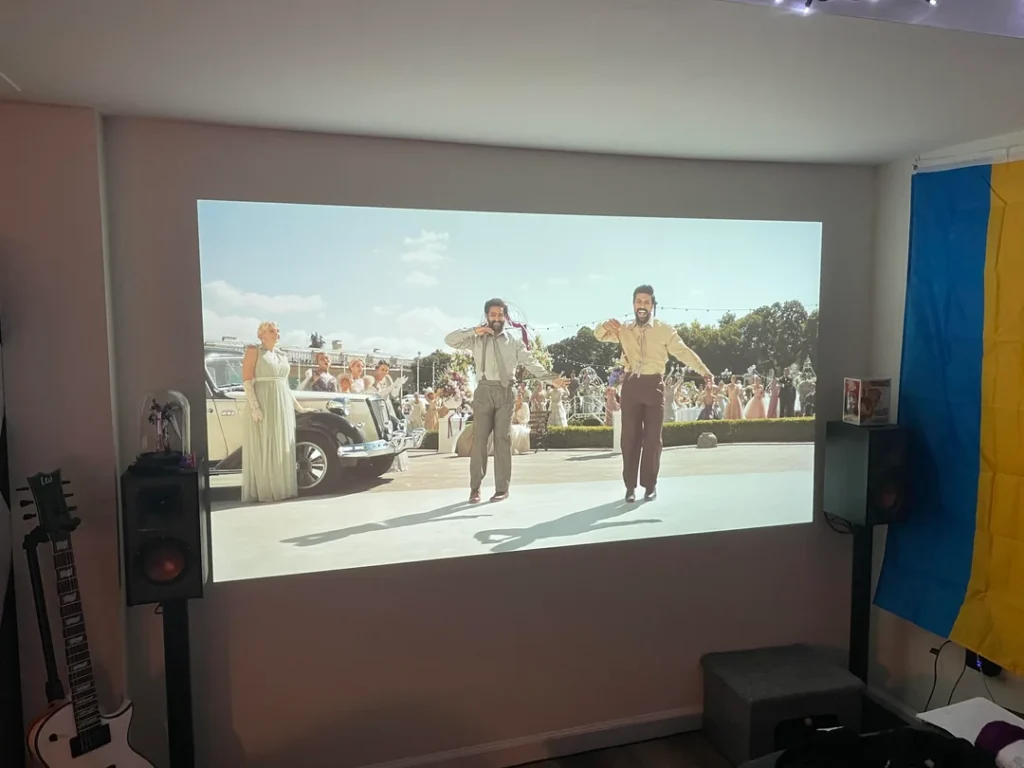
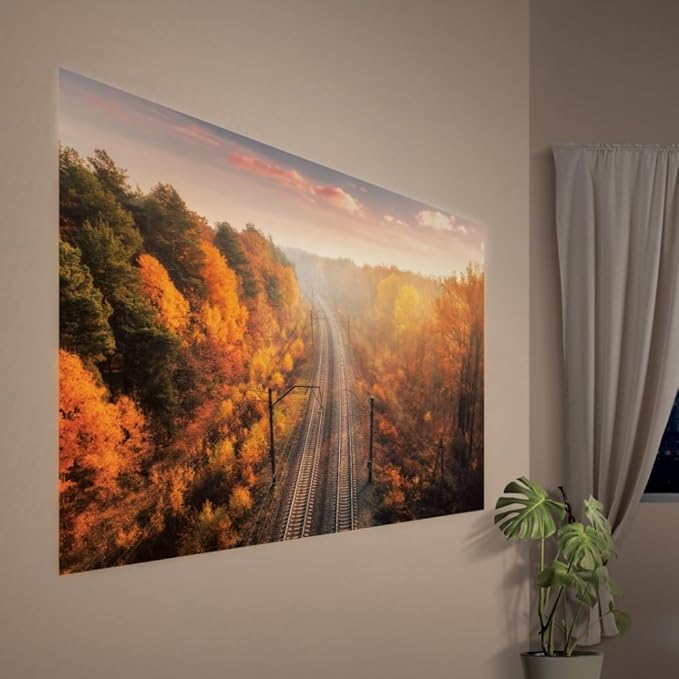
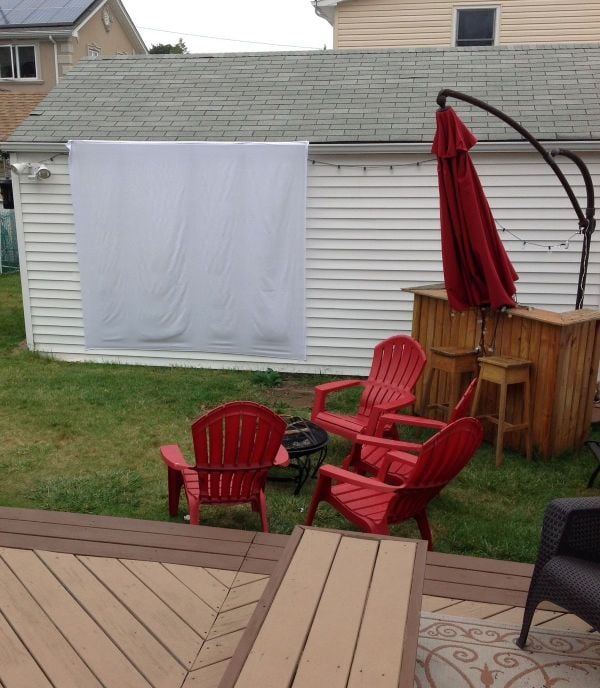
1. The Blank Wall Projector Screen Setup
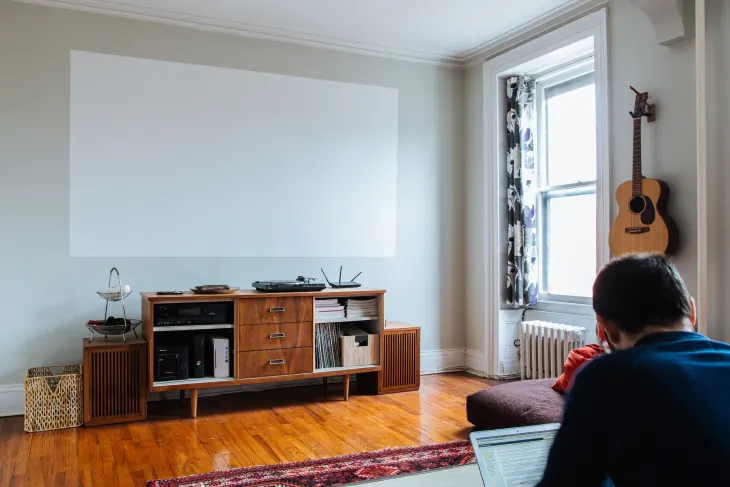
If you’re renting, this is the easiest place to start—and honestly, it works better than most people expect. A clean, light-colored wall (white or very light beige) can double as a perfectly decent projector screen. No setup, no cost, no risk to your deposit. Just point, adjust, and you’re ready for movie night.
To get the best image without painting, focus on small tweaks that make a big difference. First, choose the smoothest wall you have—texture can make the image look grainy. Then dim the lights as much as possible, or watch at night for better contrast. If your wall isn’t perfectly white, you can still improve things by slightly increasing brightness and contrast in your projector settings.
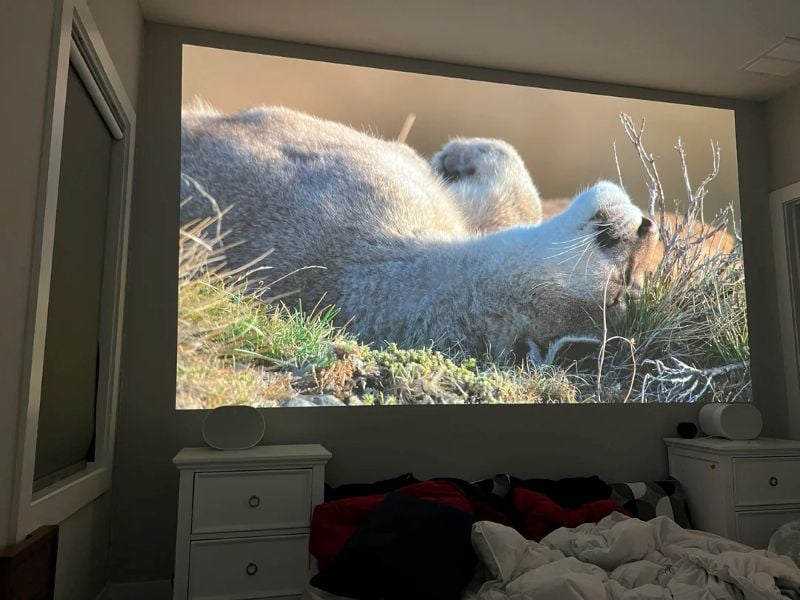
One underrated trick: frame your “screen area.” Even something simple like placing furniture or decor around the projection space helps your eyes focus and makes the picture feel sharper. It’s not fancy, but it’s cozy, practical, and renter-proof.
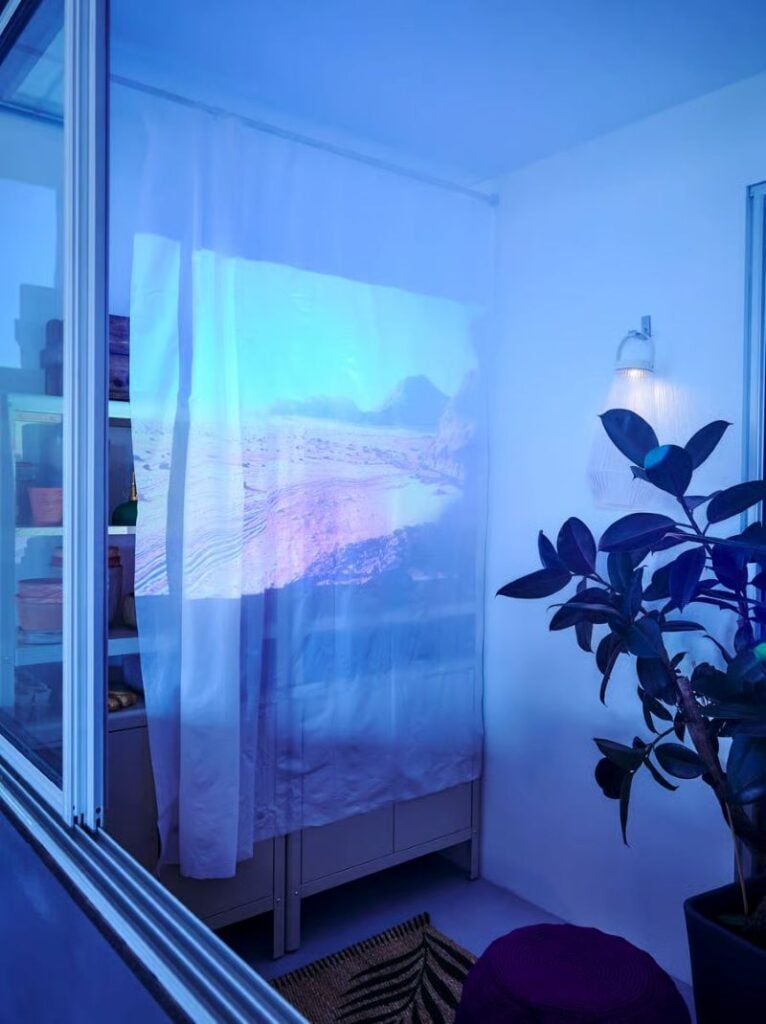
2. The Tension Rod + Curtain Screen Hack
This is one of those “why didn’t I think of that sooner?” setups. You take a spring-loaded tension rod (the kind used for showers or closets), place it between two walls or inside a window frame, and hang a blackout curtain or white fabric. No drilling, no screws—just pressure holding everything in place.
Blackout curtains work especially well because they’re thicker and block light from passing through, which makes your image look brighter and more vivid. When you’re done, you can slide the curtain to the side or take it down in seconds. It’s perfect if you don’t want your living room to permanently look like a mini theater.
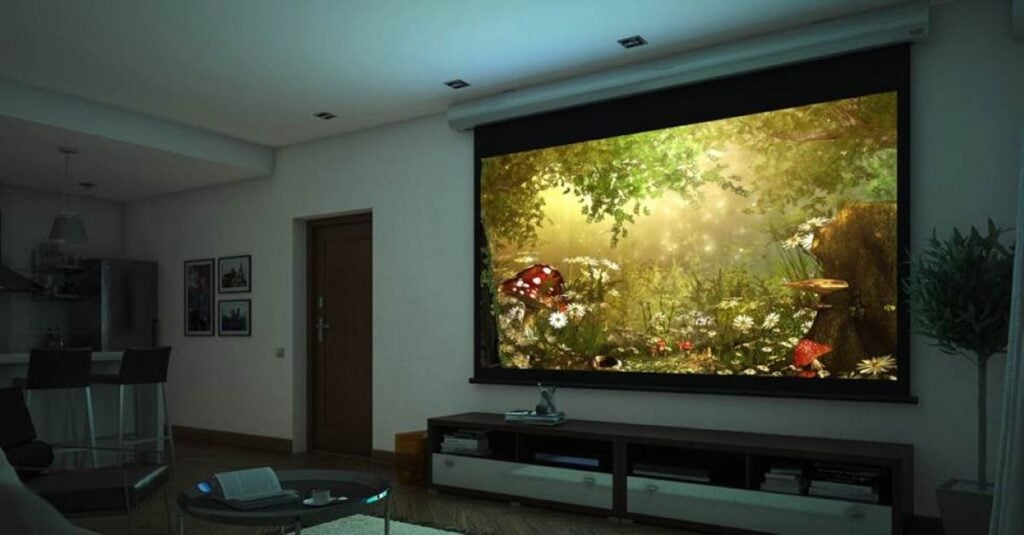
If you like the tension rod + curtain idea but want something that feels a bit more “finished,” you can easily upgrade to a motorized projector screen—and still keep things renter-conscious.
For this projector screen setup, you’ll need:
- Heavy-duty garment rack
- Portable projector
- Motorized projection screen
- Large carabiner
- No residue tape (Do not use super sticky tape like duct tape)
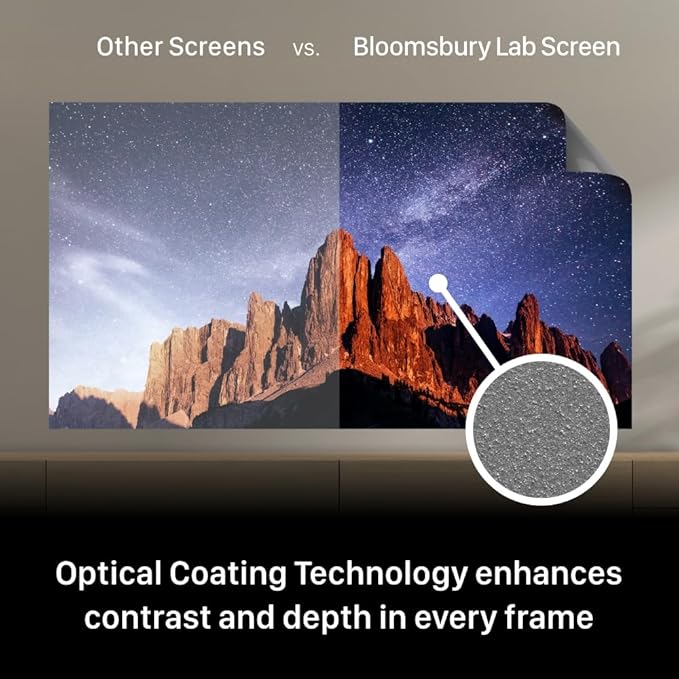
In terms of performance, this is where you’ll notice a real upgrade. The matte white PVC surface helps reflect light evenly, giving you a brighter and sharper image than fabric. The black borders around the edges also help improve contrast, making everything look more “in focus.”
The key here is keeping the fabric as flat as possible. Wrinkles can distort the image, so either steam the curtain beforehand or clip small weights at the bottom to keep it taut. It’s a simple setup, but it looks surprisingly polished—and your landlord will never know it was there.
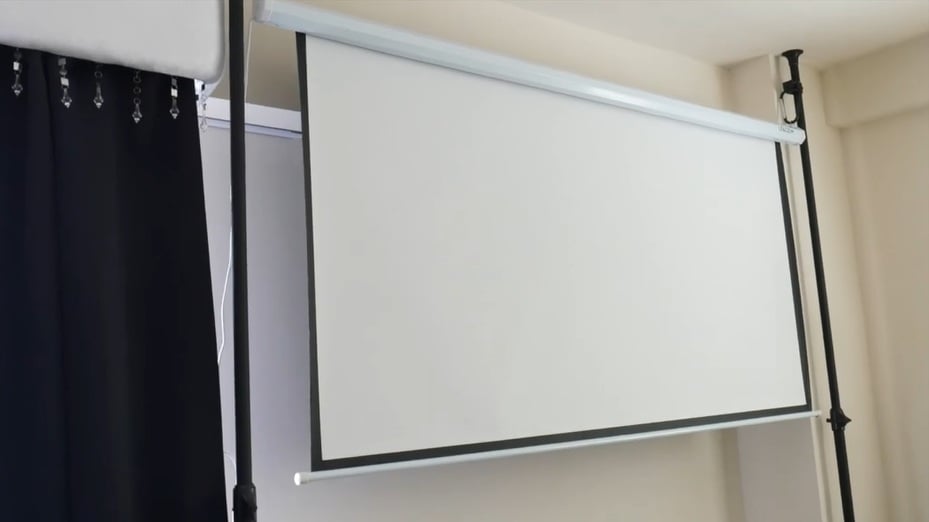
3. The Pull-Down Portable Screen Stand
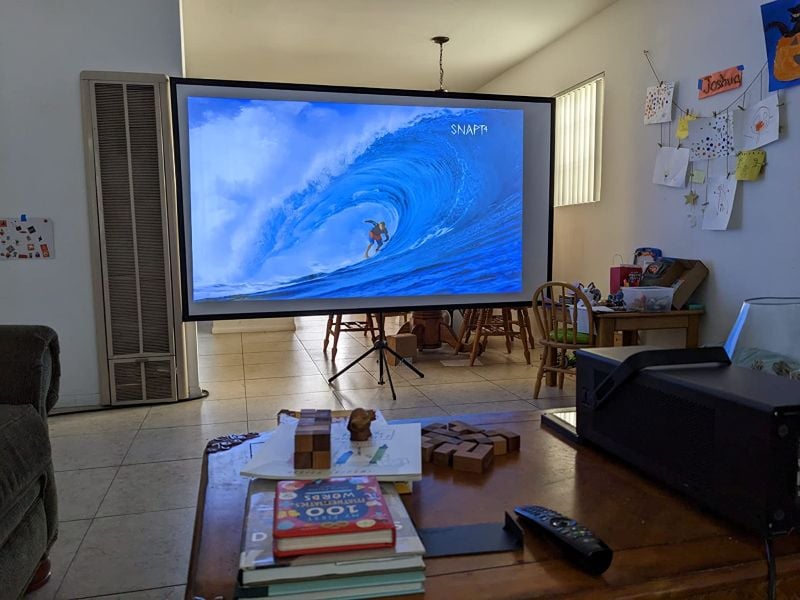
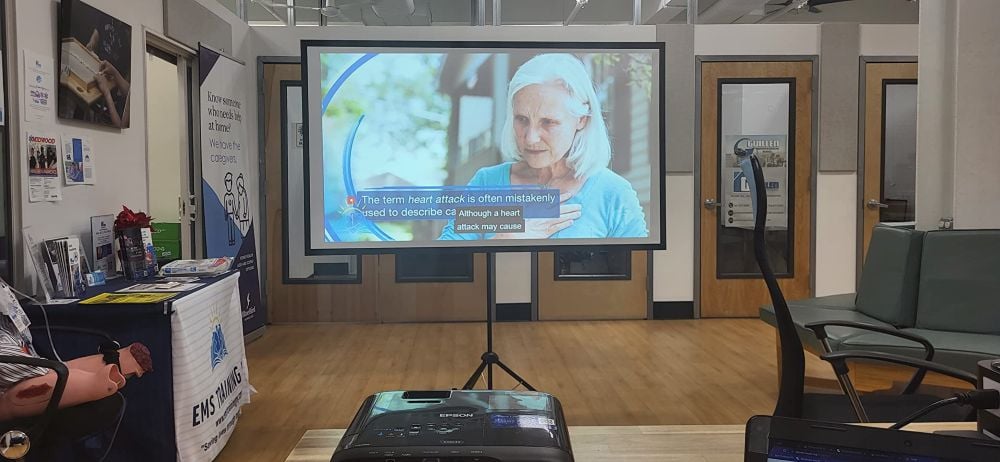
If you want something that feels a bit more “real cinema” without committing to wall mounting, a pull-down portable screen on a tripod stand is a great middle ground. It’s completely freestanding, so you don’t have to rely on your walls at all.
I recommend this projector screen with stand from KODAK.
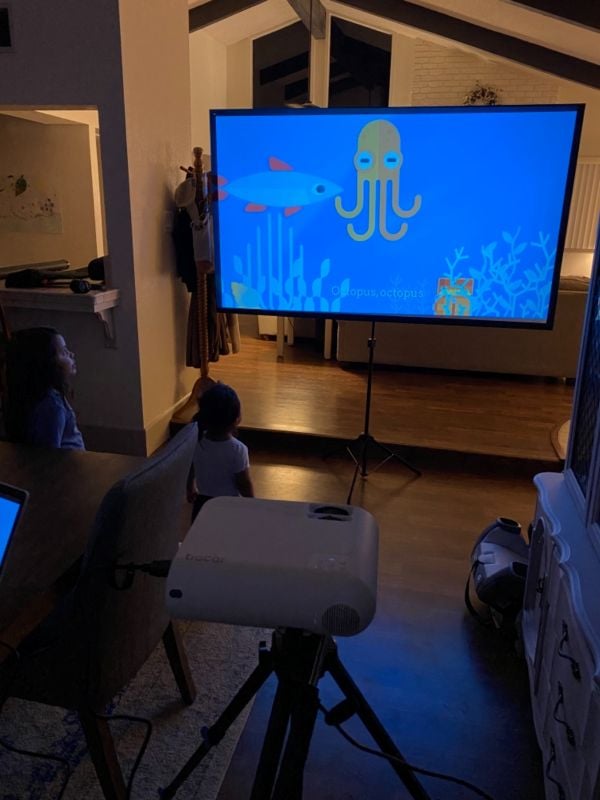

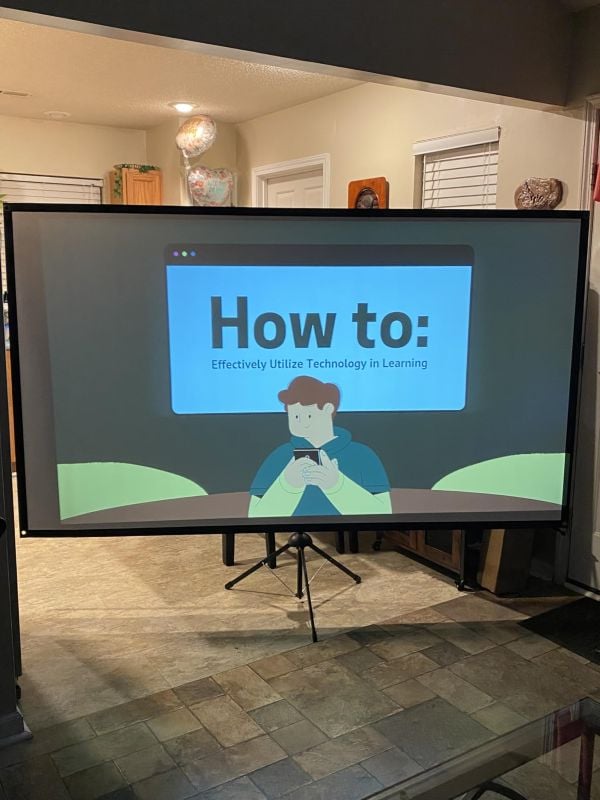
Setup usually takes less than a minute: unfold the tripod, pull the screen up, and lock it in place. When you’re done, collapse it and tuck it into a corner, closet, or even under a bed. That flexibility is a big win if you’re working with a small apartment or shared space.

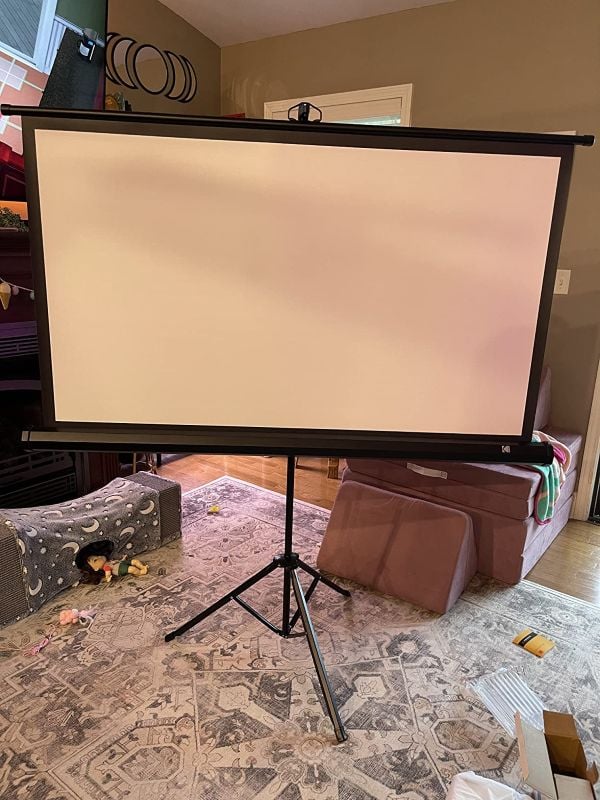
The biggest advantage here is consistency. Unlike walls or fabric hacks, these screens are designed to reflect light properly, so you’ll get a sharper, brighter image right away. Just make sure you have enough floor space for the stand, and position your projector at the right height to avoid awkward angles. It’s a slightly bigger investment, but it gives you that “movie night upgrade” feel without risking your security deposit.
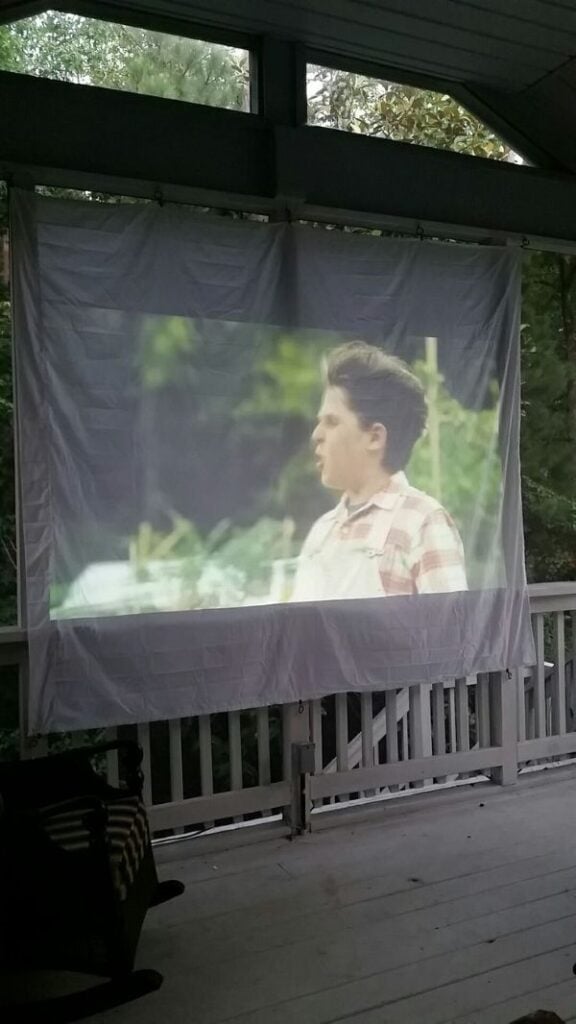
4. The Bed Sheet Budget Projector Screen
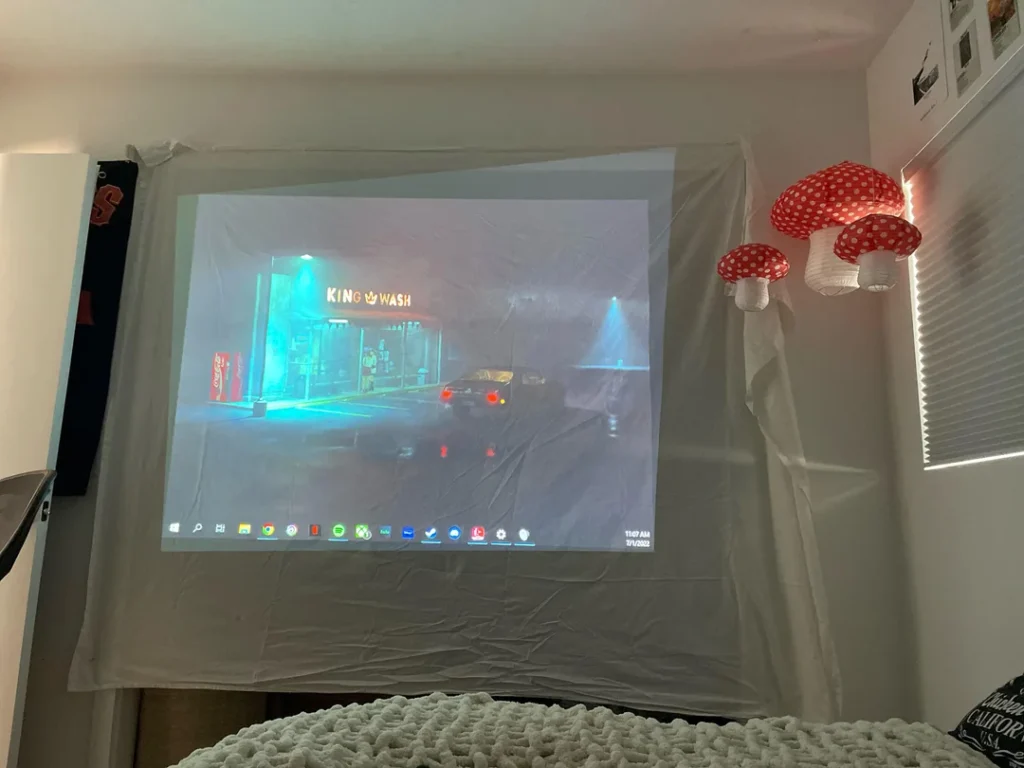
If you want the absolute cheapest renter-friendly projector screen, this is it. A plain white bed sheet can work shockingly well—especially if you already have one lying around. It’s not perfect, but for casual movie nights, it gets the job done without spending a dime.
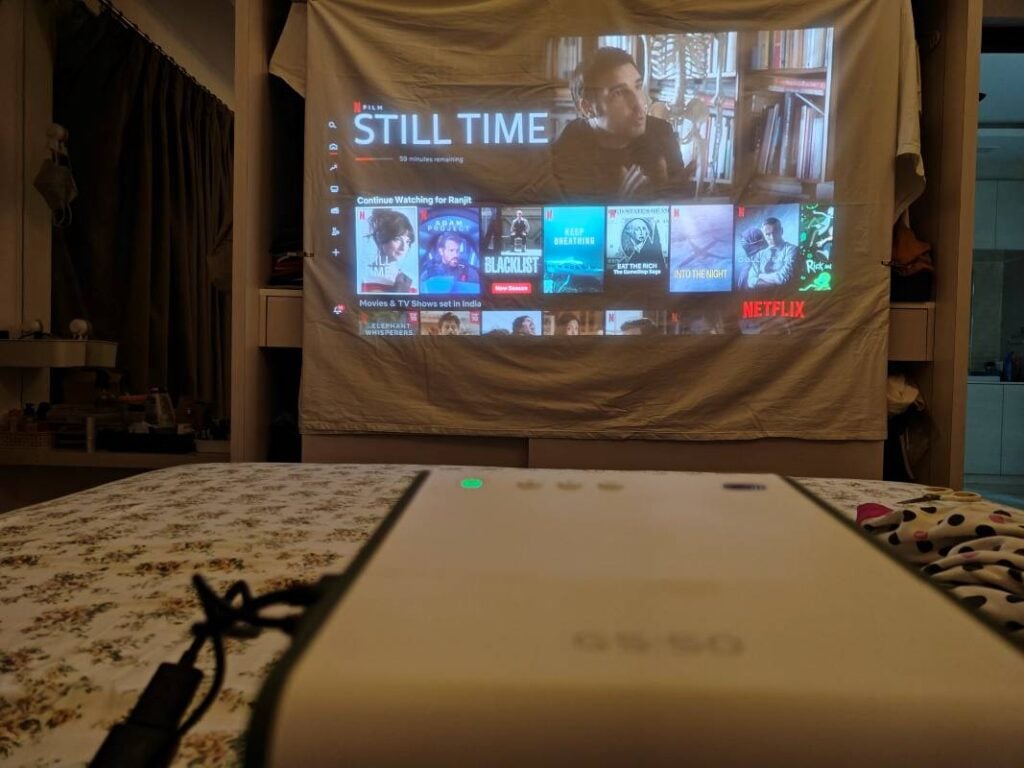
The trick is all in how you hang it. Don’t just drape it loosely—that’s where most people go wrong. You want it as flat and wrinkle-free as possible. Use removable hooks, clips, or even a tension rod to stretch it tight across the top. Then add a little weight at the bottom (like small clips or even books if it’s against a wall) to keep it from moving or bunching up.
Also, try to pick a thicker sheet if you can. Thin fabric can let light pass through, which makes the image look washed out. It’s not going to rival a real screen, but it’s cozy, low-effort, and perfect for testing out a projector setup before investing in anything else.
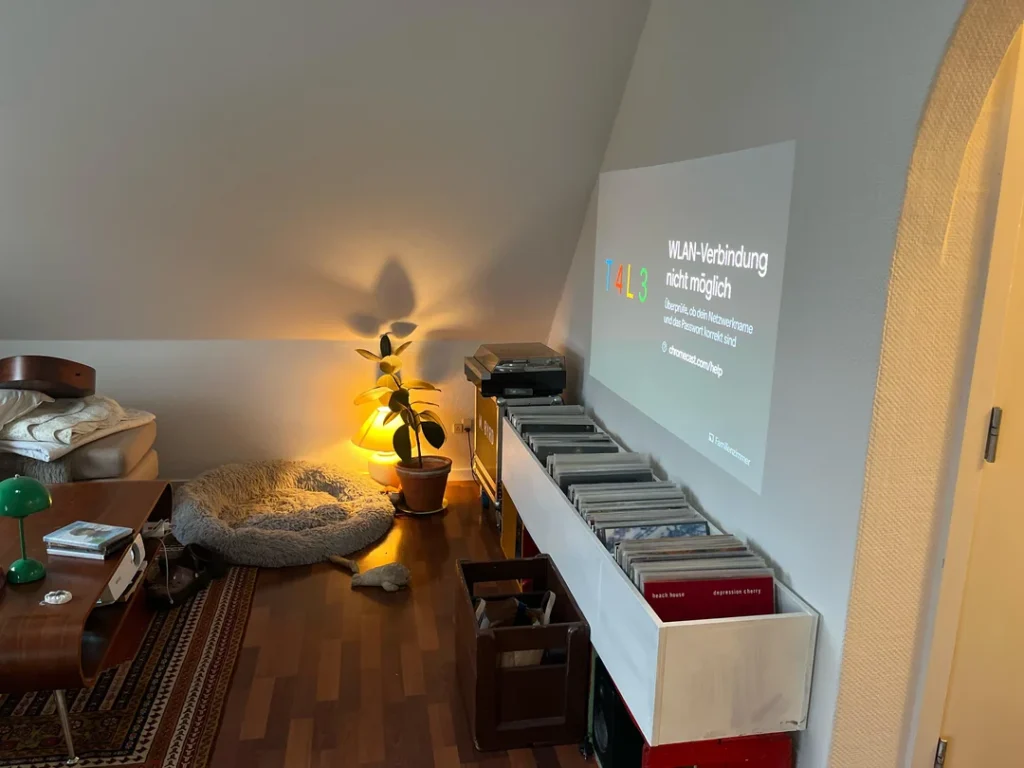
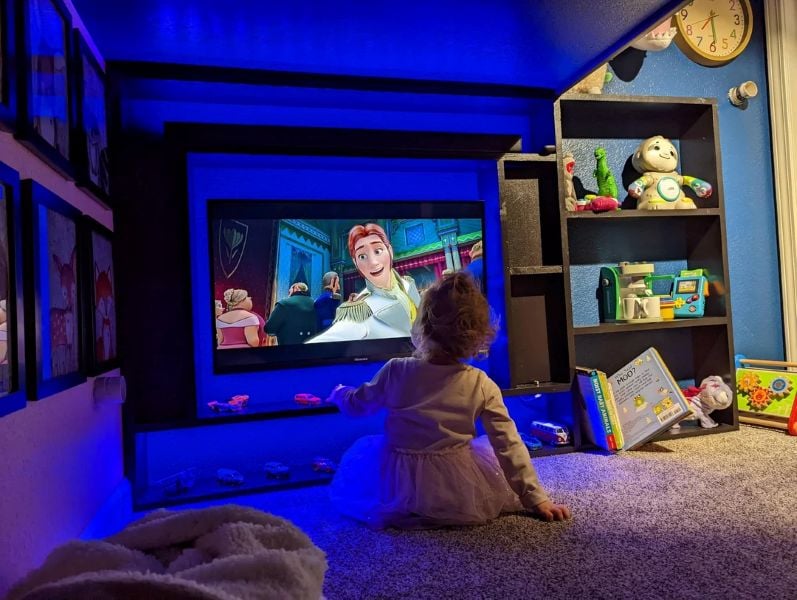
5. The Bookshelf Projector Mount
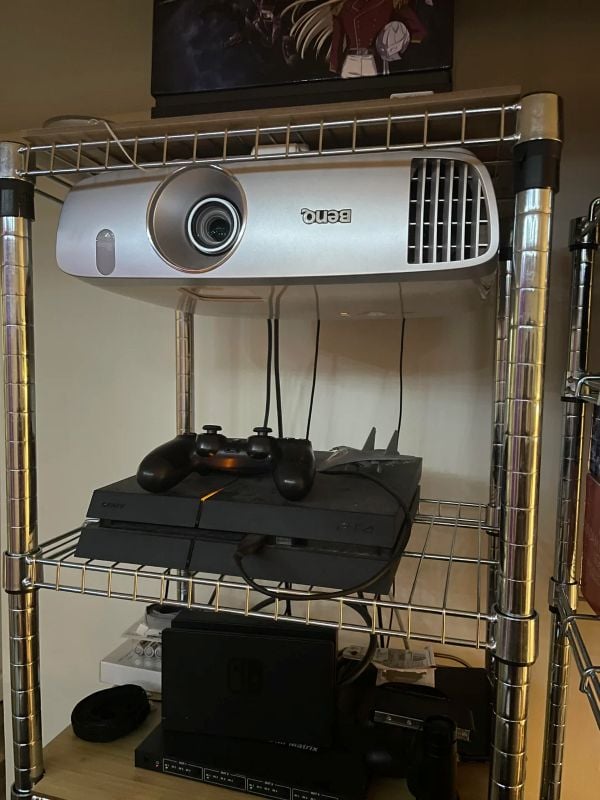
Before you even think about buying a mount, look around your space—there’s a good chance you already have the perfect setup. A bookshelf can double as a stable, renter-friendly projector mount with zero installation required.
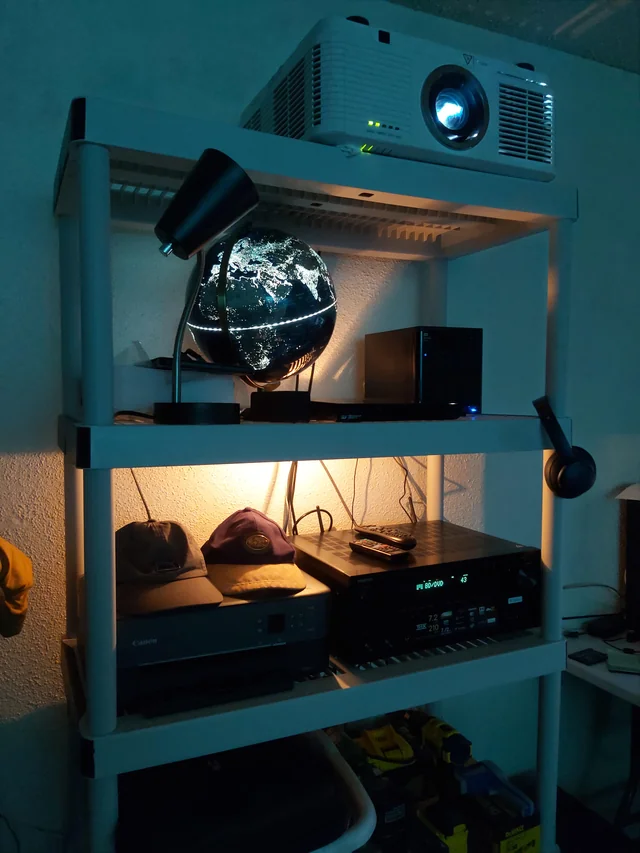
The goal here is simple: get your projector at the right height and angle. Ideally, it should be level with the center of your screen (or slightly below/above, depending on your projector). If the shelf height isn’t perfect, just stack a few books or small boxes underneath the projector to fine-tune it. It’s low-tech, but it works.
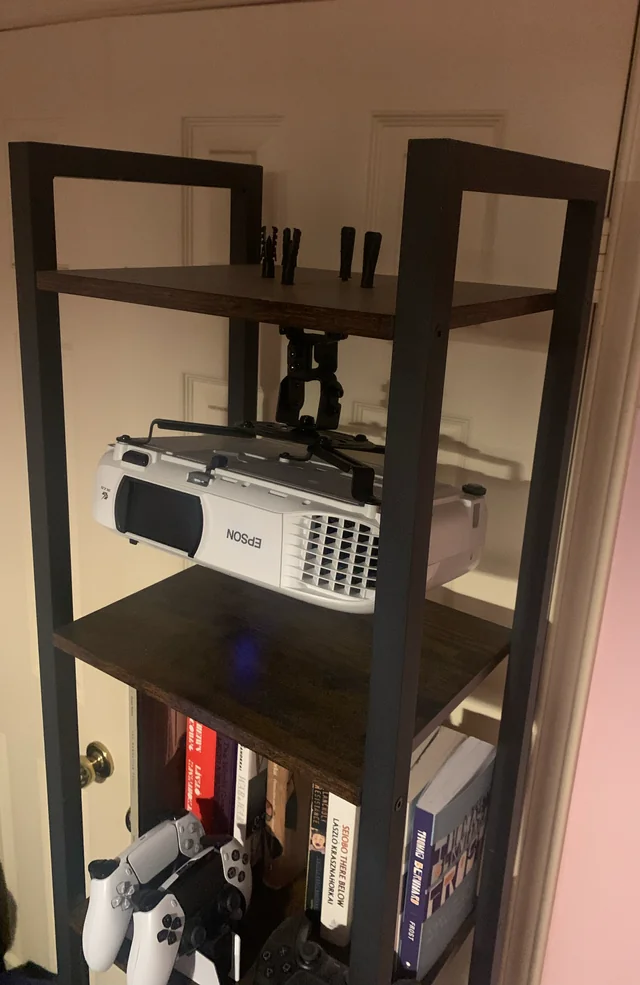
One thing to watch for is airflow. Projectors can get warm, so don’t tuck it into a tight, enclosed shelf. Give it a little breathing room. And if you want to make things feel cleaner, use simple cable clips or Velcro ties to manage cords along the back of the shelf. It’s a practical setup that blends right into your space—no drilling, no stress.
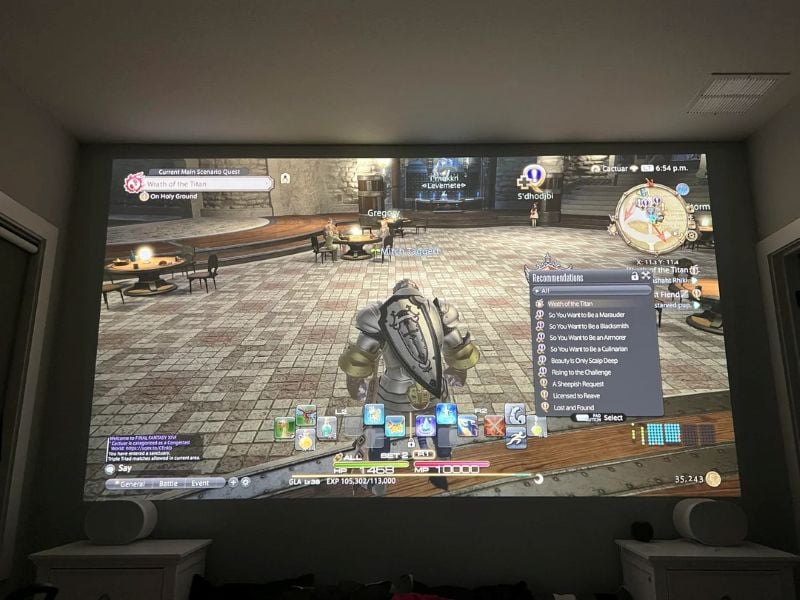
6. The Coffee Table Projector Setup
This is probably the most relaxed, no-commitment setup you can do. Just place your projector on a coffee table, point it at your wall or screen, and you’re basically done. It’s perfect if you don’t want anything permanent or if you like to switch things up often.
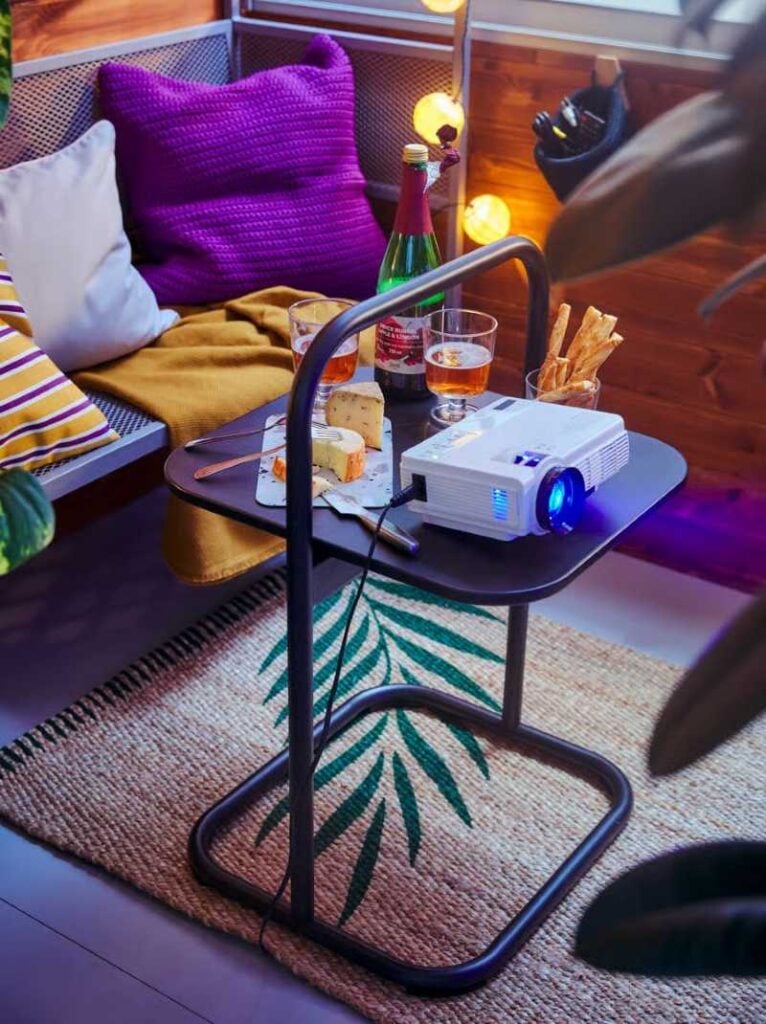
It works especially well in small apartments where space is limited. You can move the table closer or farther depending on the image size you want, and when you’re finished, just move everything back like nothing happened. It’s also great for casual setups—think spontaneous movie nights, gaming sessions, or even projecting a show while you’re winding down.

The only thing to keep in mind is angle. Since the projector is low, you might need to tilt it slightly or use a small stand to avoid that “trapezoid” (keystone distortion) look. Some projectors correct this automatically, but a simple fix like placing a book under the front can make a big difference. Easy, flexible, and completely renter-safe.
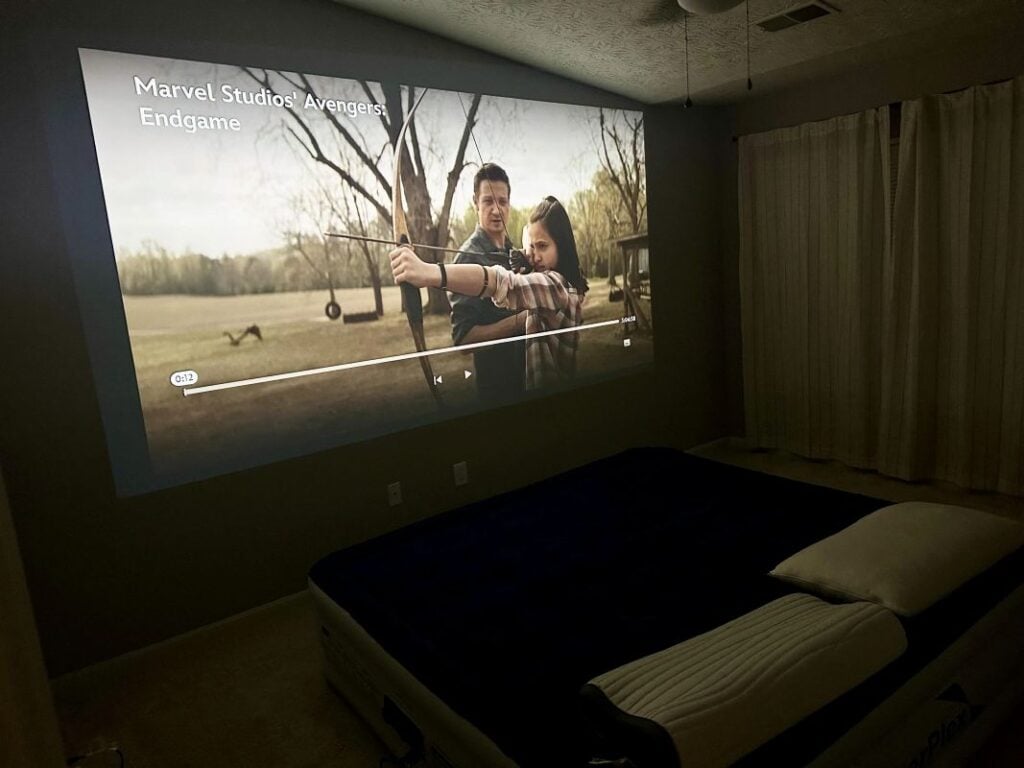
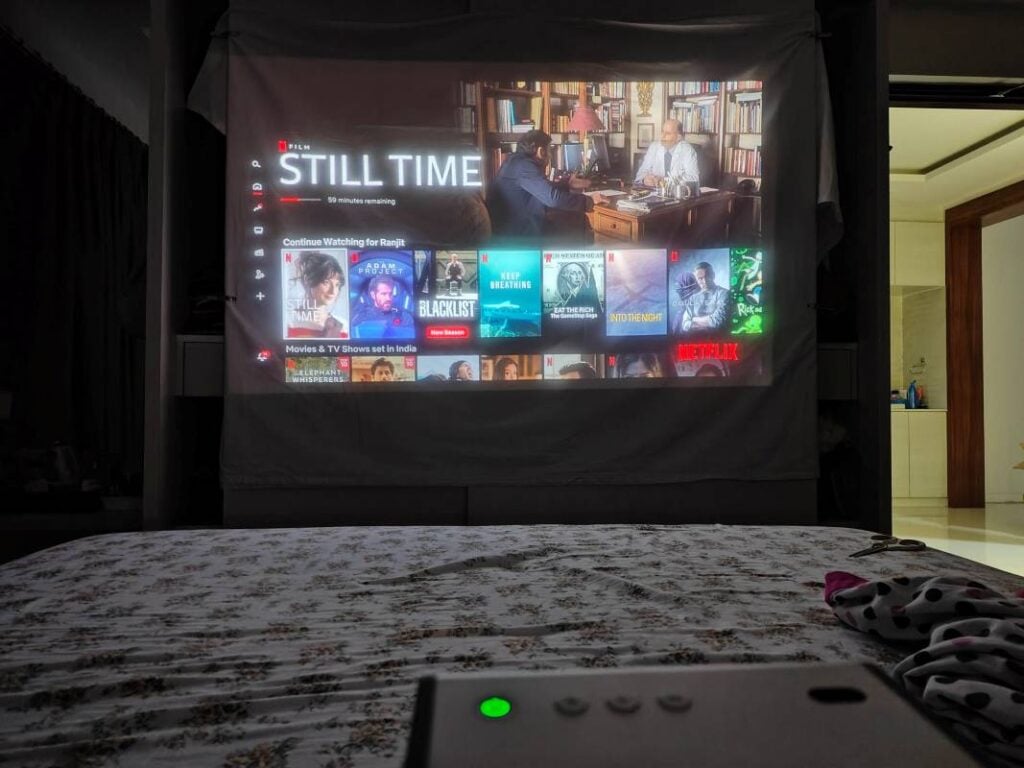
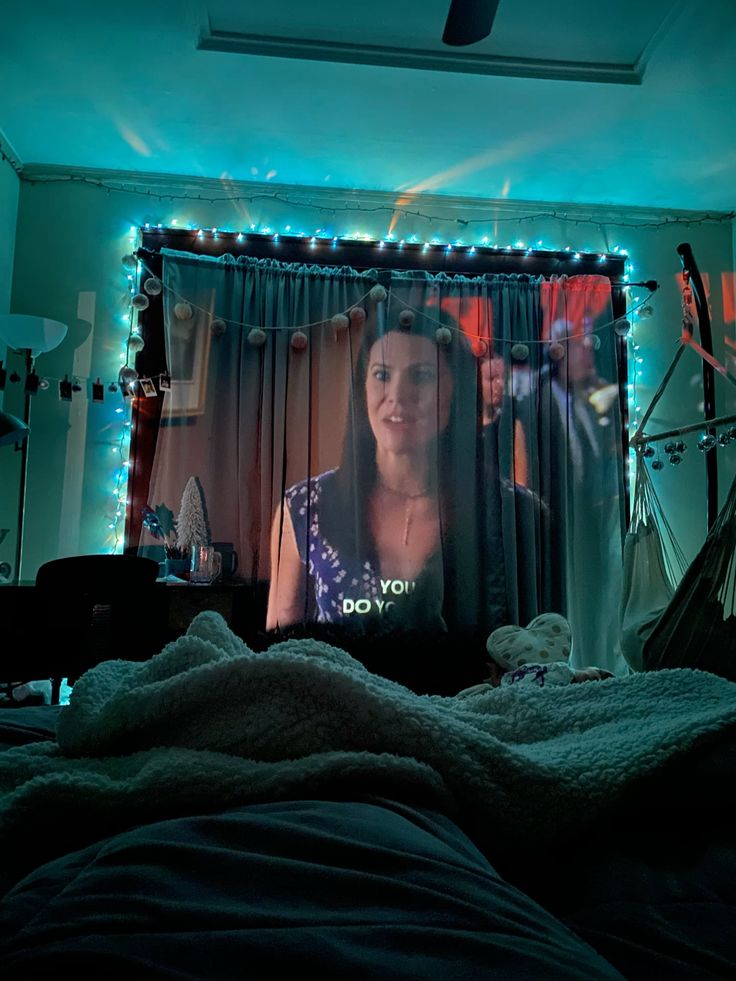
7. The Ceiling Bounce Projection Trick
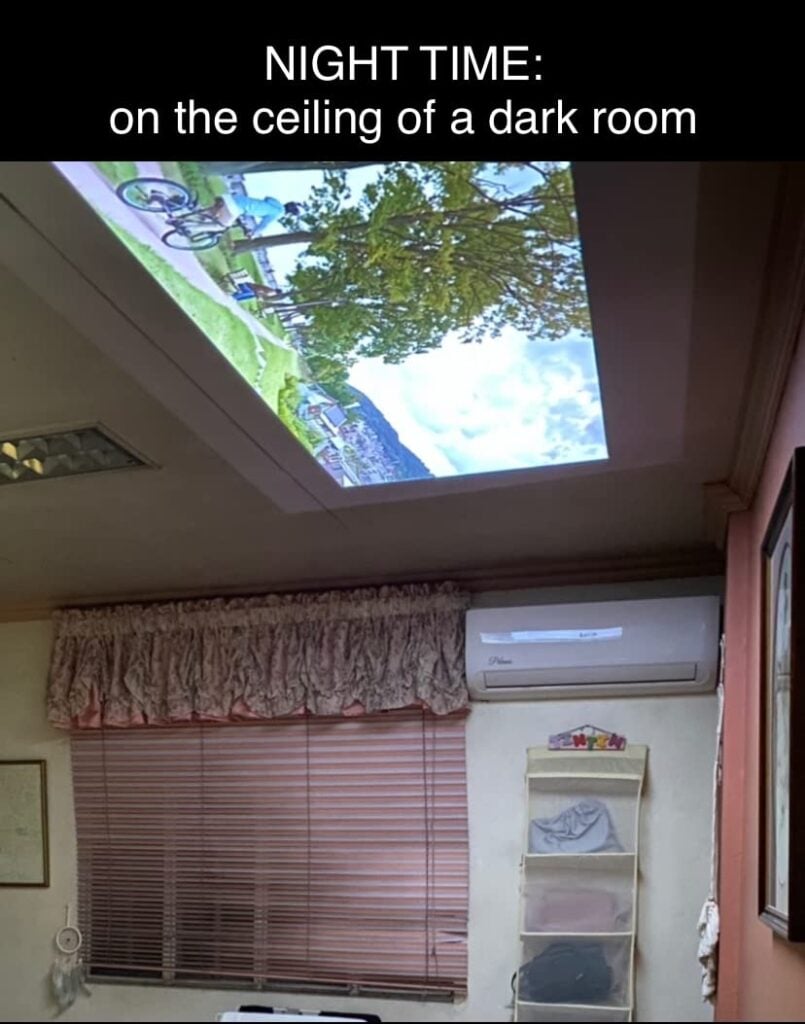
This one feels a little unconventional at first—but once you try it, it’s hard to go back. Instead of projecting onto a wall, you aim your projector at the ceiling and watch while lying in bed. It turns your room into a cozy, no-effort mini theater, especially for late-night shows or weekend movie marathons.
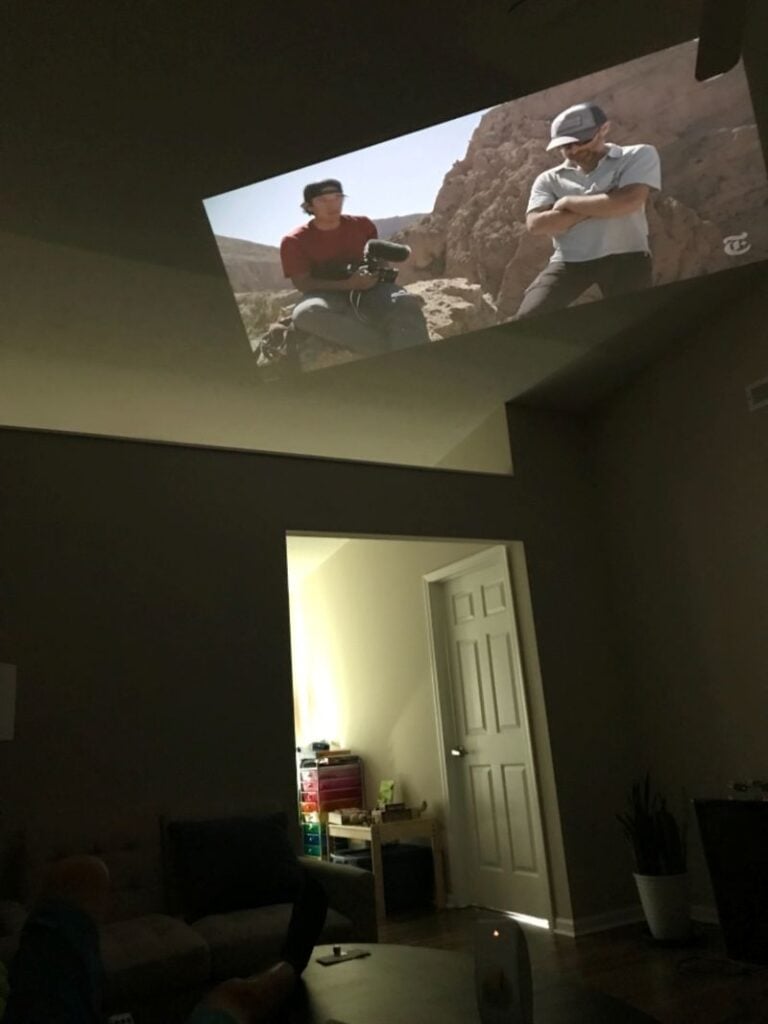
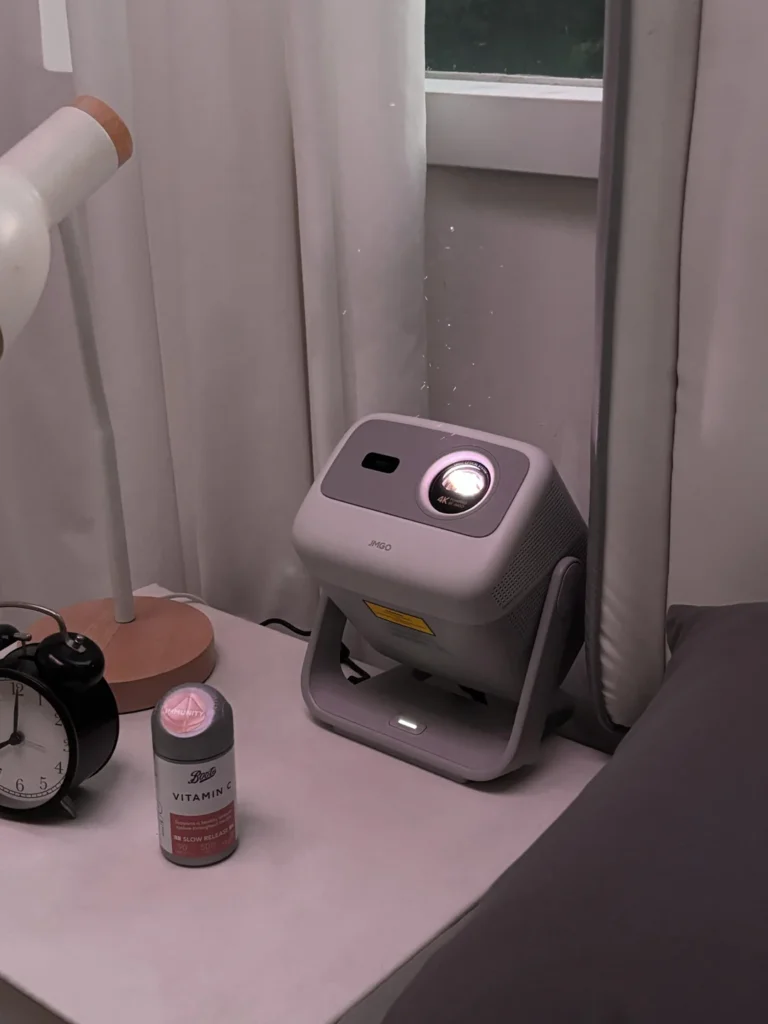
The key here is angle and stability. You’ll want your projector sitting low (like on a nightstand or small stool) and tilted upward toward the ceiling. If your projector has keystone correction, use it to straighten the image. If not, a simple trick like propping the front up with a book can help you dial it in. It doesn’t have to be perfect—comfort is the goal here.
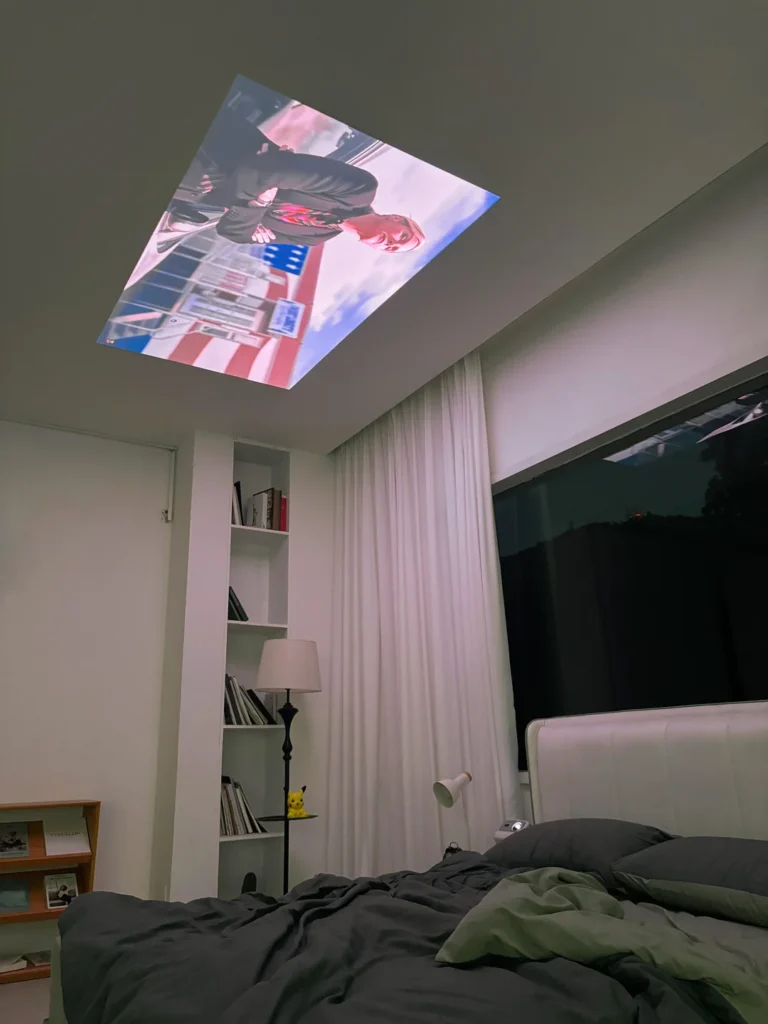
Brightness matters more with this setup since ceilings aren’t always ideal surfaces. Try to keep the room dim or watch at night for the best results. If your ceiling is white or light-colored, you’re in great shape. It’s a super renter-friendly option that requires zero setup—and honestly feels a little luxurious.
8. The Peel-and-Stick Projector Screen
If you want a cleaner, more “finished” look without committing to anything permanent, peel-and-stick projector screens are a solid option. They’re designed to go directly onto your wall and can usually be removed later without leaving marks—perfect for renters who want something more polished than a sheet or bare wall.
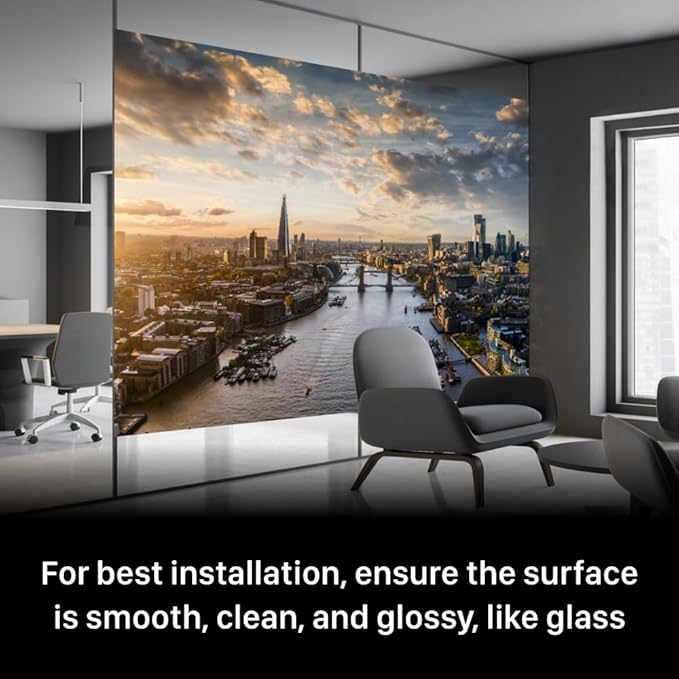
That said, not all adhesive screens are created equal. Look for ones labeled “removable” or “damage-free,” and check reviews specifically from renters. Some cheaper options can leave residue or peel paint if your wall surface isn’t ideal. Smooth, clean walls work best—textured walls can cause issues both with sticking and image quality.
Installation is pretty straightforward: peel, stick, smooth it out. Take your time to avoid bubbles or wrinkles, because those will show up when you’re watching. And when it’s time to move out, remove it slowly and gently (sometimes with a little heat from a hairdryer) to keep your walls safe. It’s a nice middle ground between DIY and a full screen setup.
9. The Rolling Cart Projector Setup
If you like flexibility, this setup is a game changer. A simple rolling cart—like a bar cart or utility cart—lets you turn your projector setup into a mobile station. You can move it from the living room to the bedroom, or even out to a balcony, without unplugging and reassembling everything.
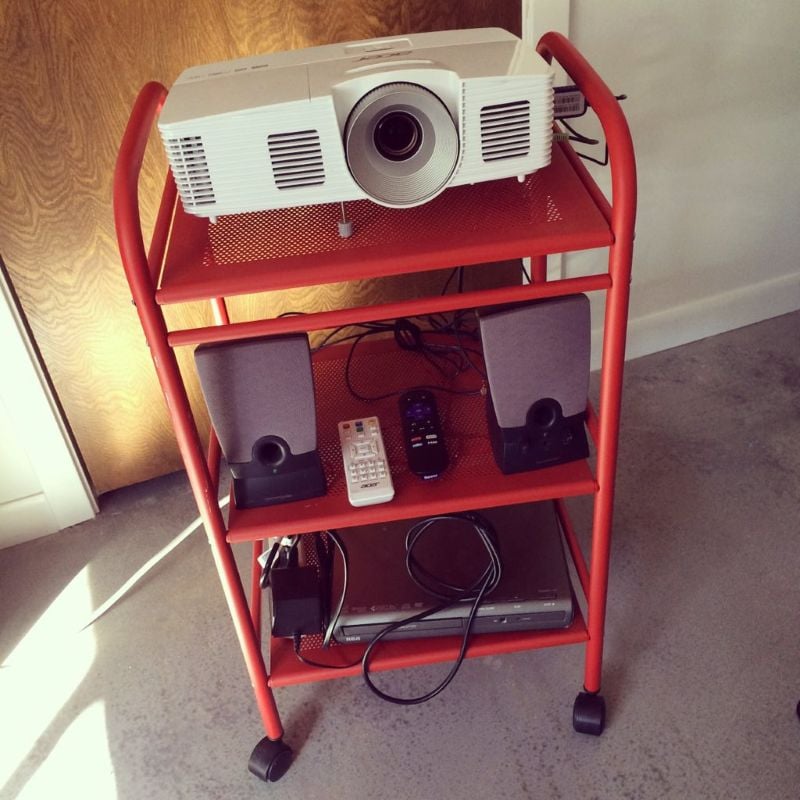
The idea is to keep your entire setup in one place: projector on the top shelf, maybe a speaker or streaming device on the lower shelf, and cables neatly managed so nothing gets tangled when you roll it around. It keeps things tidy and makes setup feel effortless.
One tip: look for a cart with a sturdy, flat top and lockable wheels. You don’t want it shifting while you’re trying to watch something. And if the height isn’t quite right, you can always adjust with small risers or books. It’s practical, renter-friendly, and perfect if you don’t want your setup tied to one spot.
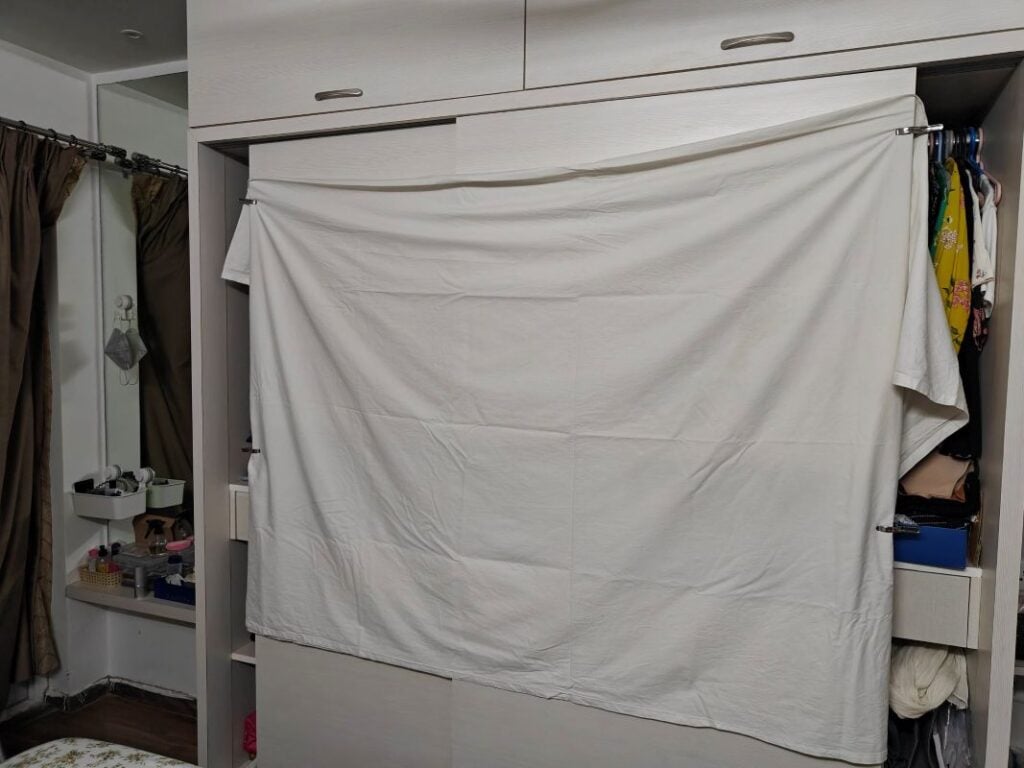
10. The Closet Cinema Setup
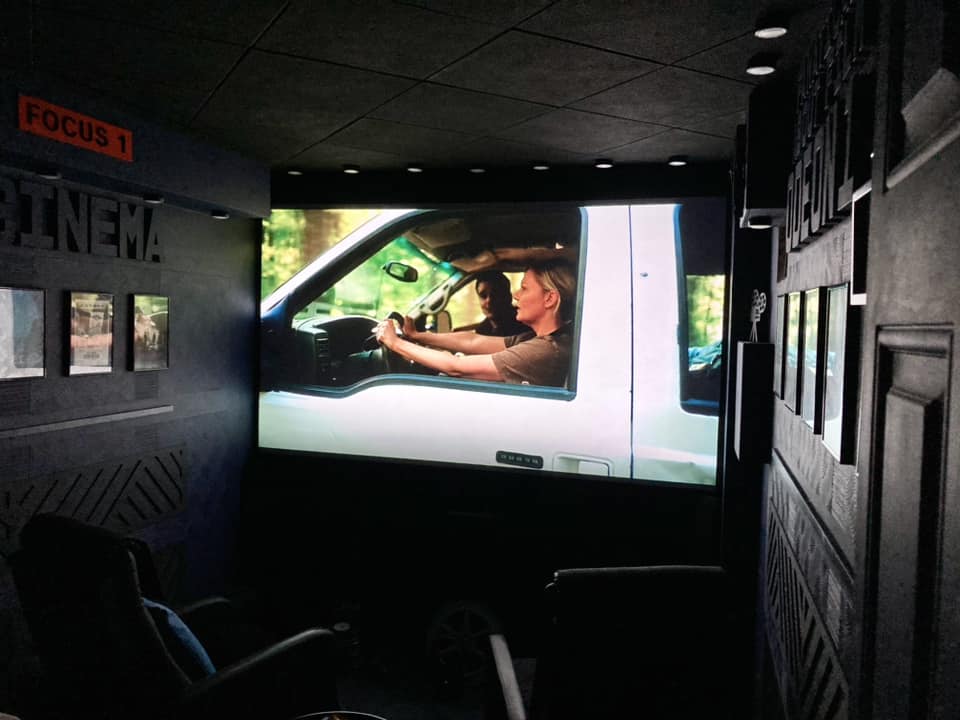
If you’re working with a small apartment, this setup is a hidden gem—literally. A closet, nook, or even an unused corner can become your own little “private theater” without taking over your main living space. It’s perfect if you like the idea of a cozy, distraction-free spot to unwind.
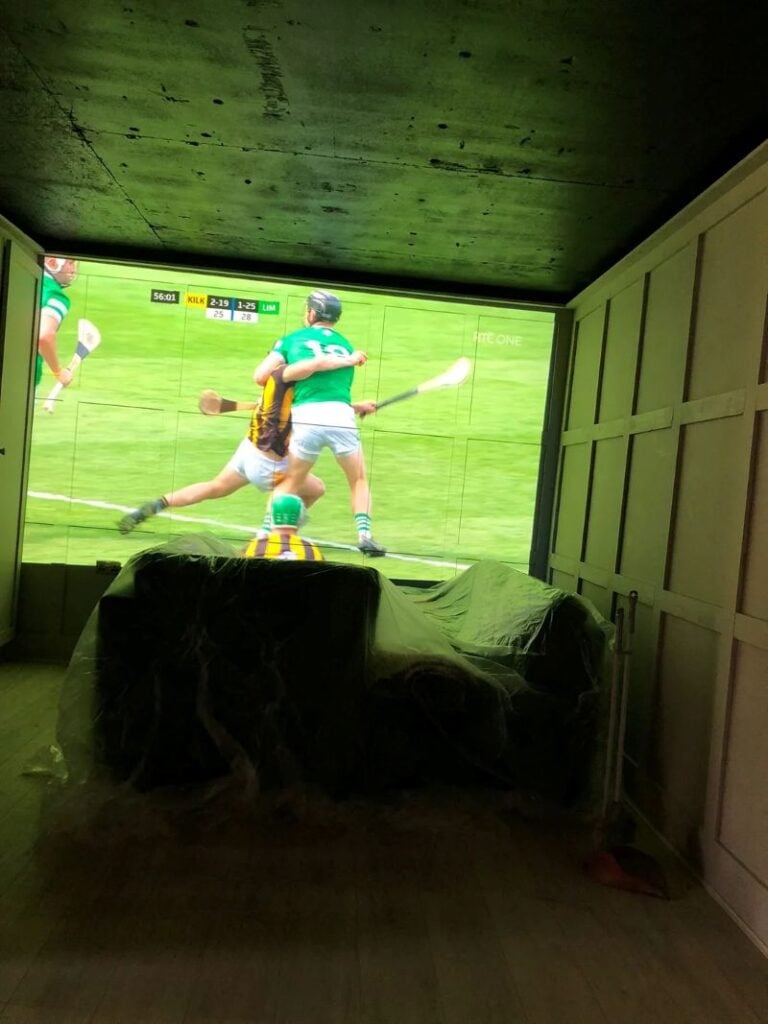
Start by clearing out just enough space to sit comfortably. You don’t need much—some floor cushions, a folded blanket, or even a small chair will do. For the screen, you can use what’s already there. Sliding closet doors (especially white ones) work surprisingly well, or you can hang a curtain or sheet inside the frame using a tension rod.
The biggest advantage here is light control. Closets are naturally darker, which means your image will look brighter and sharper without much effort. It also helps contain the “setup mess”—when you’re done, just close the doors and everything disappears. It’s simple, renter-friendly, and feels like your own little escape.
11. The Outdoor Balcony Projector Setup
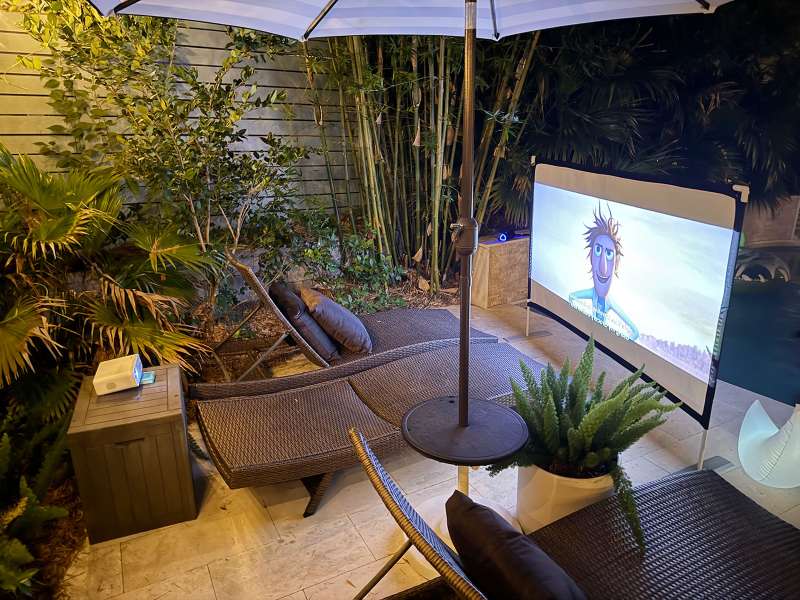
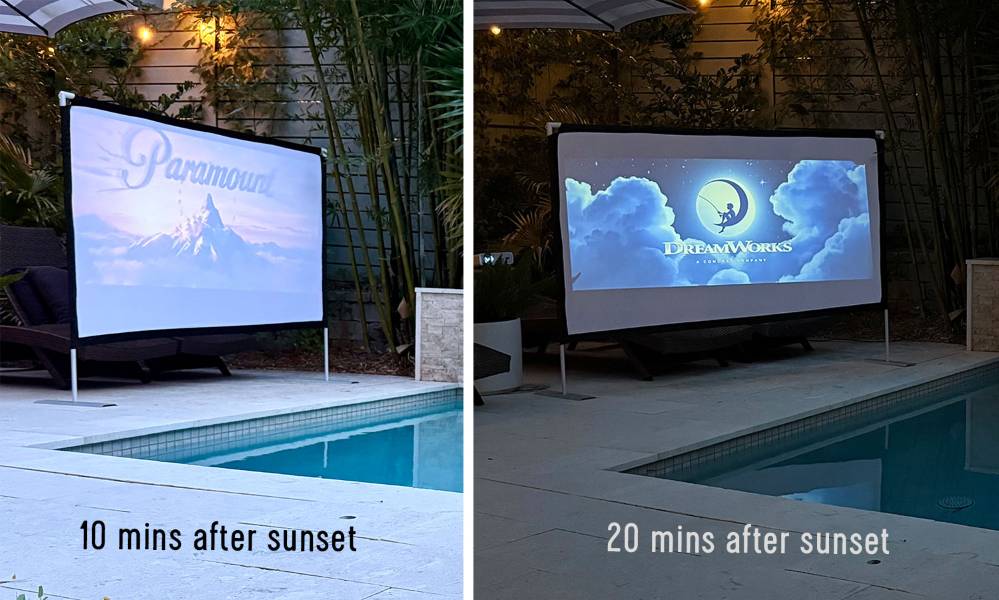
If you have a balcony, this setup can turn an ordinary evening into something special. There’s just something about watching a movie outside that feels instantly more memorable—like a mini event without leaving home.
You don’t need anything fancy to make it work. A lightweight fabric screen (or even a sheet) can be clipped to your balcony railing using removable clips or hooks. The key is securing it tightly so it doesn’t flap around if there’s a breeze. For the projector, place it on a small table or stool at the right distance, and you’re good to go.
Timing matters here—wait until it’s dark enough so the image doesn’t get washed out. You might also want to keep a small speaker handy if your projector audio isn’t strong enough for outdoor use. Add a couple of chairs, maybe a blanket, and suddenly your balcony feels like an outdoor cinema. Best part? When you’re done, everything comes down in minutes—no trace left behind.
Best Renter-Friendly Projector Screen Options (Quick Picks)
If you don’t want to rely on a plain wall, there are a few renter-friendly screen options that make a noticeable difference—without turning your apartment into a construction zone.
Fabric screens (wrinkle-resistant) are one of the easiest upgrades. These are lightweight, foldable, and usually come with hooks or ropes you can hang using removable adhesive strips. The key here is wrinkle resistance—because every crease shows up once the projector is on. If you can hang it tight and smooth, you’ll get a much cleaner image than a regular sheet.
Foldable portable screens are great if you want something more polished but still temporary. These often come with a frame or can be stretched onto a stand. They take a little more effort to set up than fabric screens, but the image quality is more consistent—and you can pack everything away when you’re done.
Blackout curtains are the underrated hero. They’re thick, affordable, and already designed to block light, which makes your image pop more. Plus, they double as actual curtains, so you’re solving two problems at once—better viewing and better light control.
And finally, peel-and-stick screens are for when you want a clean, “set it and forget it” look. Just make sure they’re truly removable and safe for your wall type. When done right, they give you a near-permanent setup—without the permanent consequences.
Common Mistakes Renters Make (And How to Avoid Them)
Most projector setups don’t fail because of the projector—they fail because of a few small, avoidable mistakes.
The first one is choosing the wrong wall. Not all walls are equal. Dark colors absorb light, and textured walls can make your image look uneven or blurry. If you can, go for a smooth, light-colored surface—it’ll instantly improve your picture without spending anything.
Another big one is ignoring ambient light. Even a solid setup can look disappointing if your room is too bright. You don’t need total darkness, but closing curtains or watching in the evening can completely transform the experience.
Then there’s projector placement. If it’s too high, too low, or angled awkwardly, you’ll get that stretched, trapezoid-shaped image (keystone distortion). Many projectors can fix this digitally, but it’s always better to position it correctly from the start—even if that just means stacking a couple of books underneath.
And honestly, one of the most common mistakes? Overcomplicating everything. You don’t need the “perfect” setup on day one. Start simple, see what works in your space, and adjust from there. The best setup is the one you’ll actually use.
Budget Breakdown: How Much You Actually Need to Spend
One of the best things about a renter-friendly projector setup is that you can start cheap—and only spend more if you want to.
Ultra-budget ($0–$30) is where most people begin. This is your DIY zone: using a blank wall, a bed sheet, or a basic curtain. Maybe you spend a little on clips, a tension rod, or cable management. It’s simple, low-risk, and perfect for testing things out.
Mid-range ($30–$150) is where things start to feel more intentional. You might pick up a proper fabric screen, a basic tripod stand, or a small Bluetooth speaker for better sound. These upgrades don’t just improve quality—they make the whole experience feel smoother and more enjoyable.
Higher-end ($150+) is for when you know you love the setup and want something more refined. Think premium portable screens, sturdier stands, or a dedicated rolling cart setup. It’s still renter-friendly—but with a more “home theater” feel.
The nice part? You don’t have to jump straight to the top tier. Start with what you have, upgrade what bothers you, and build your setup over time.
Final Thoughts: You Don’t Need Permission to Create a Cozy Space
It’s easy to feel like you have to “wait” until you own a place to make it feel special. Like cozy setups, movie nights, and little upgrades are only for people who can drill holes and mount things permanently. But honestly? That mindset just holds you back from enjoying your space right now.
A renter-friendly projector setup is one of those small changes that can completely shift how your home feels. Suddenly, a random Tuesday night turns into a movie night. Your living room feels warmer. Even hosting friends becomes more fun and relaxed—no fancy setup required. It’s not about perfection, it’s about creating moments you actually look forward to.
And the best part is, you don’t have to get it “right” the first time. Try a simple wall setup. Test a sheet. Move things around. See what works in your space and what doesn’t. You’ll naturally figure out what’s worth upgrading and what’s good enough as-is.
Start simple. Keep it flexible. And give yourself permission to enjoy your space—even if it’s temporary.
Read Also:
- 7 Creative Renter-Friendly TV Mount and Floating Stand Ideas Every Landlord Approves
- 6 Renter-Friendly Electric Fireplace Ideas With TV for Apartments and Rentals